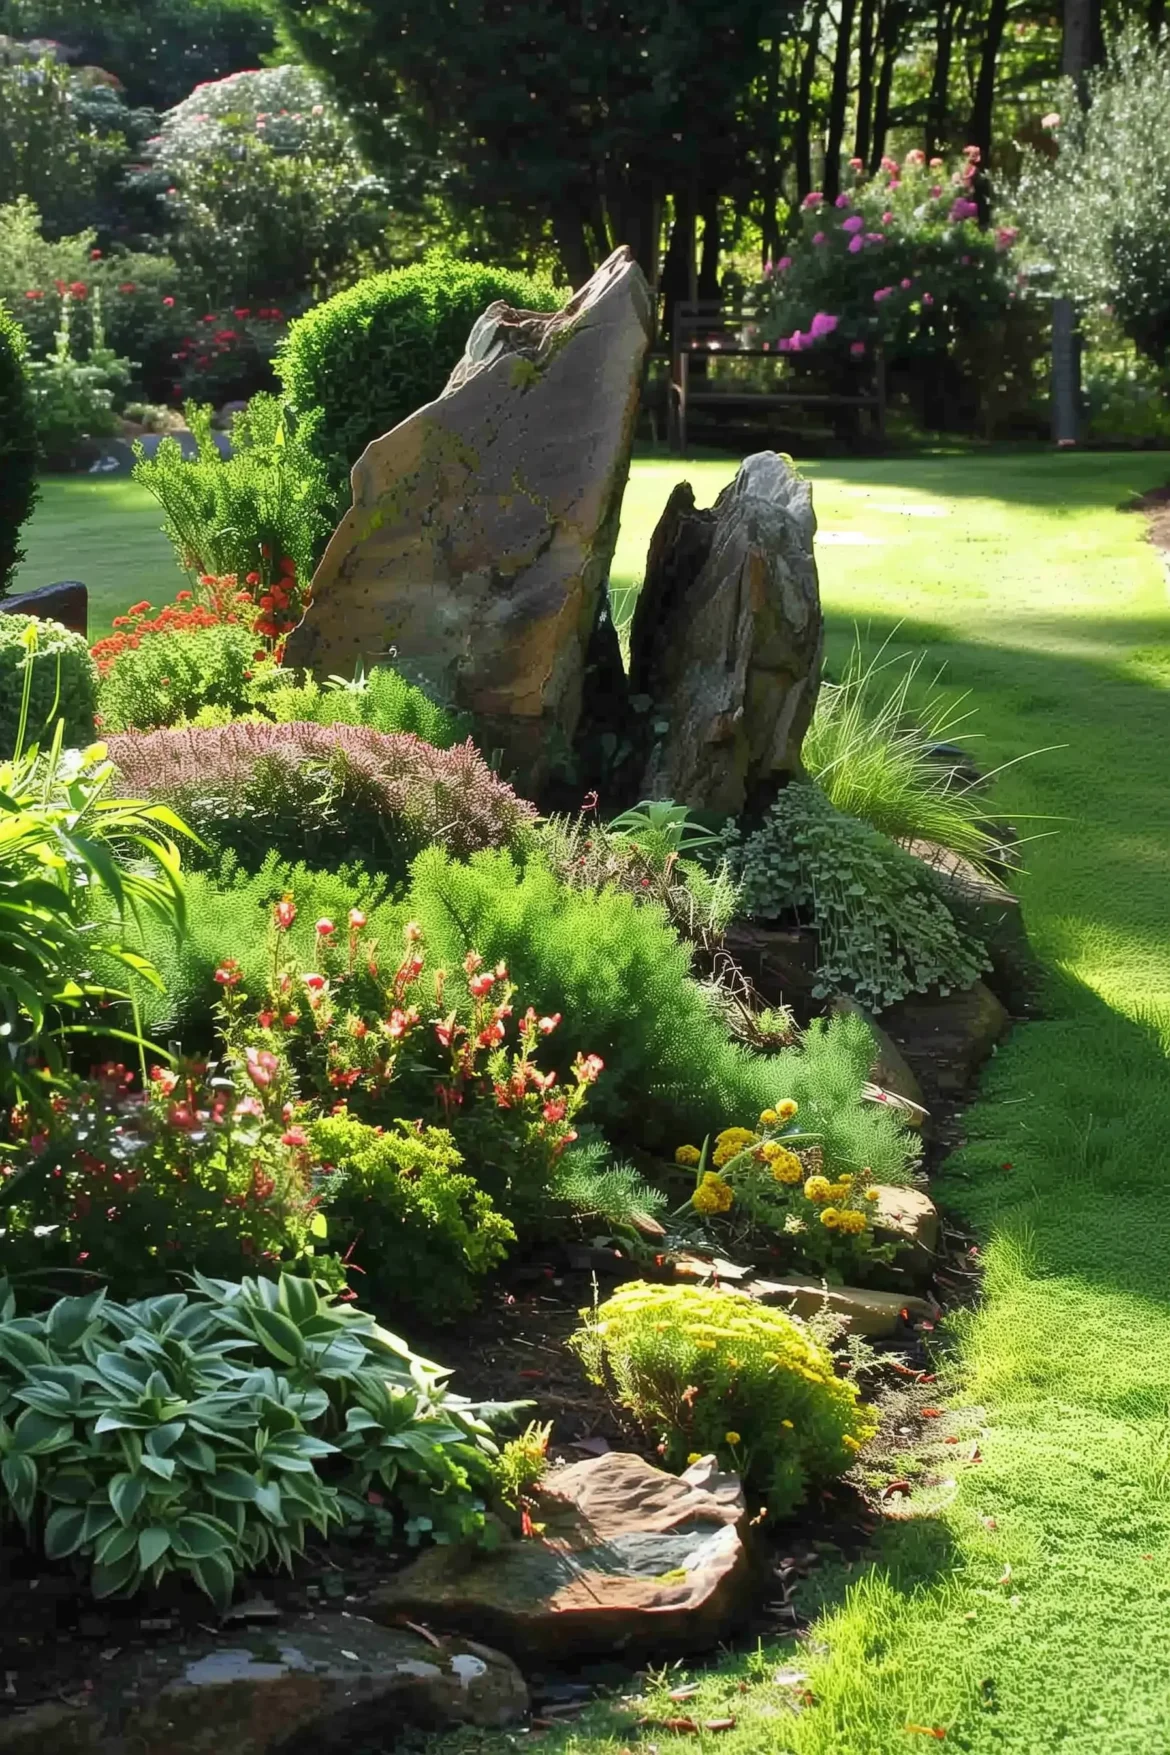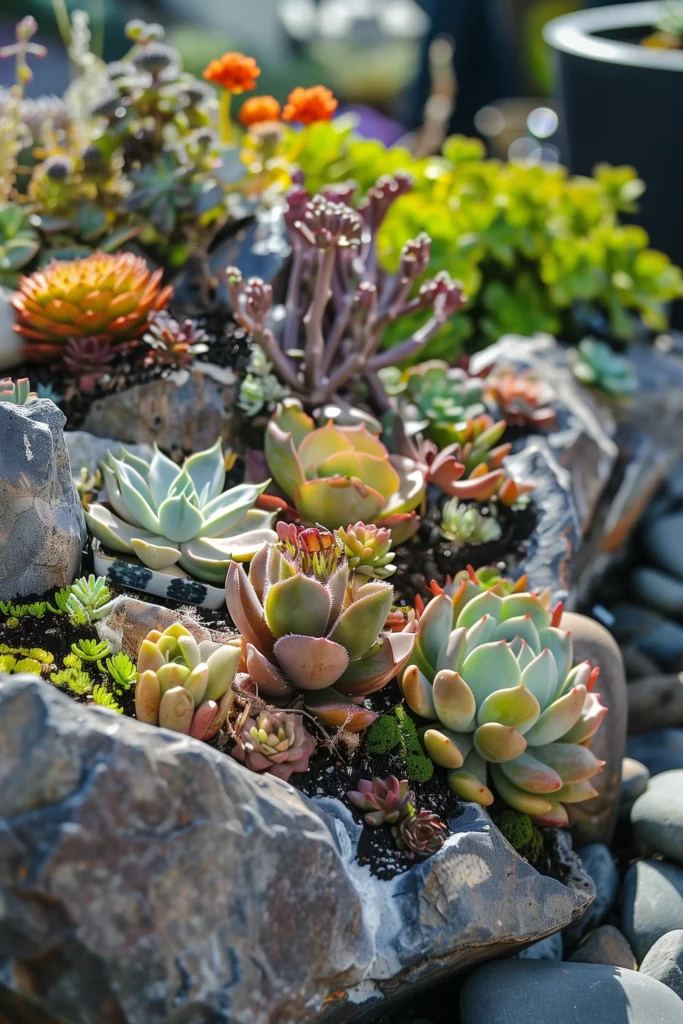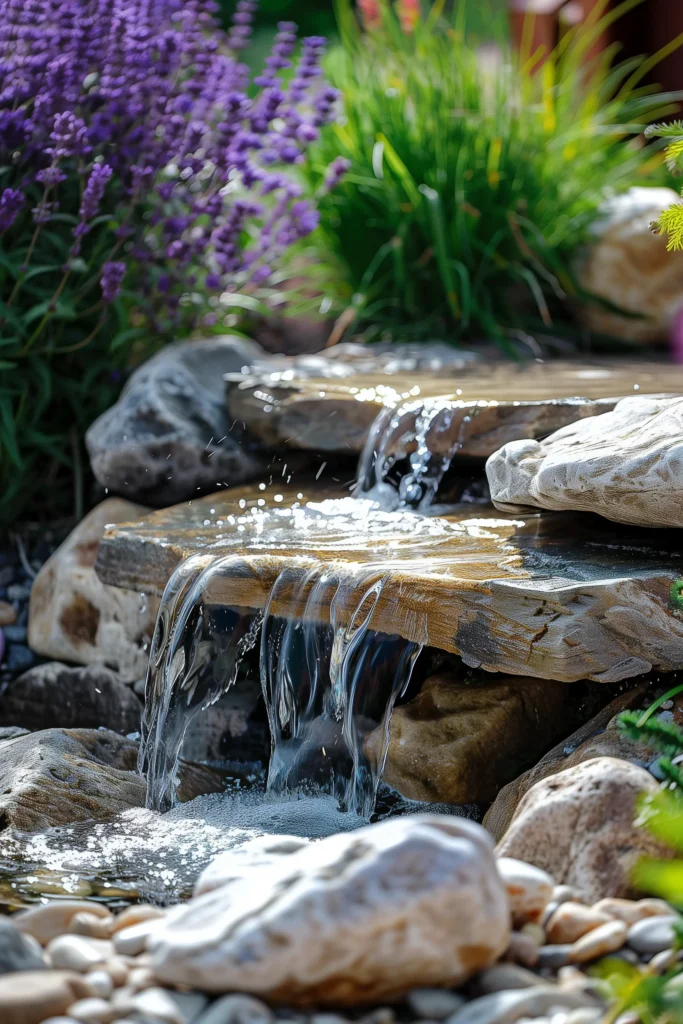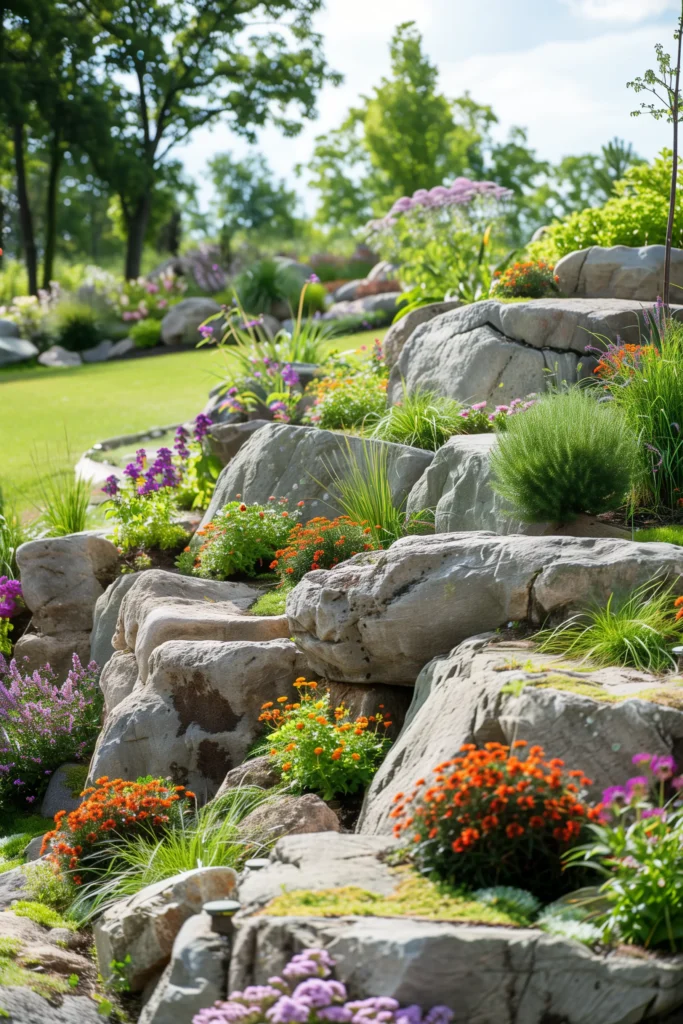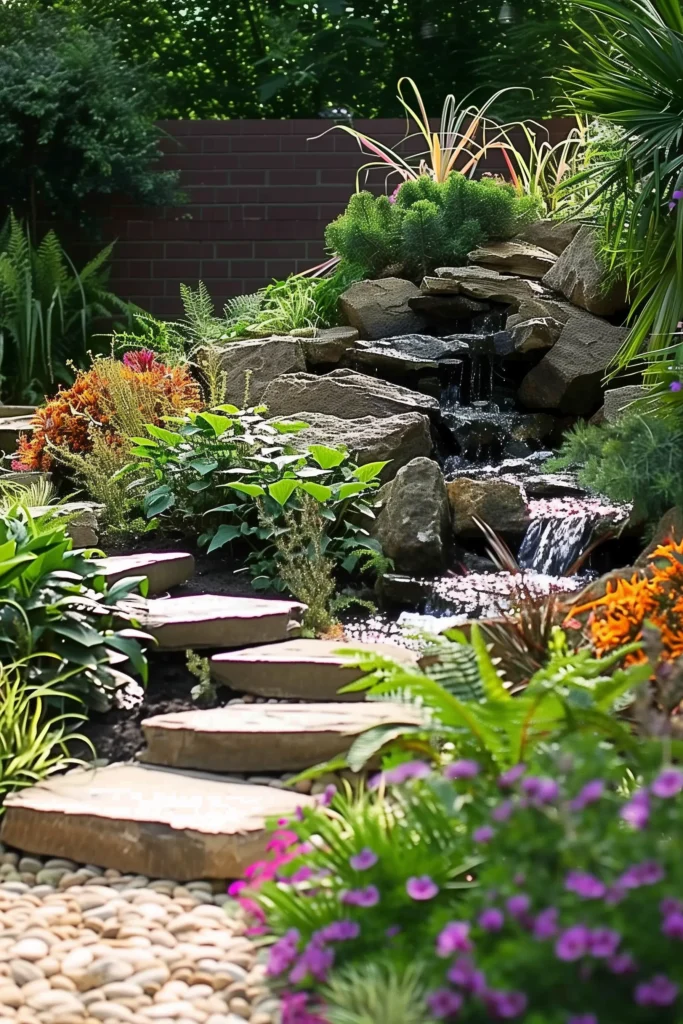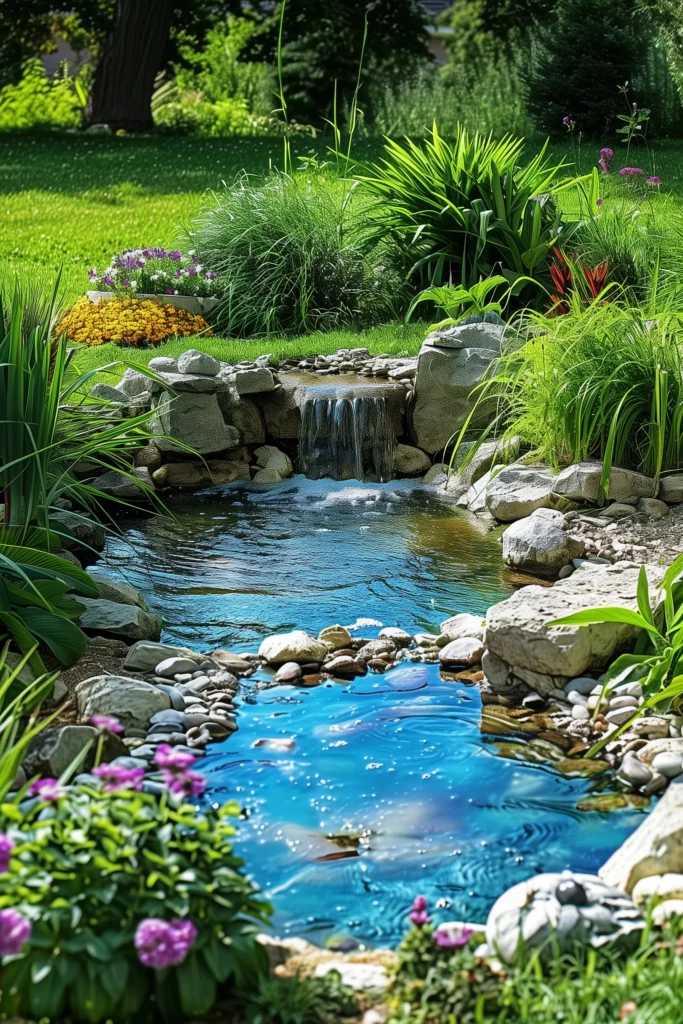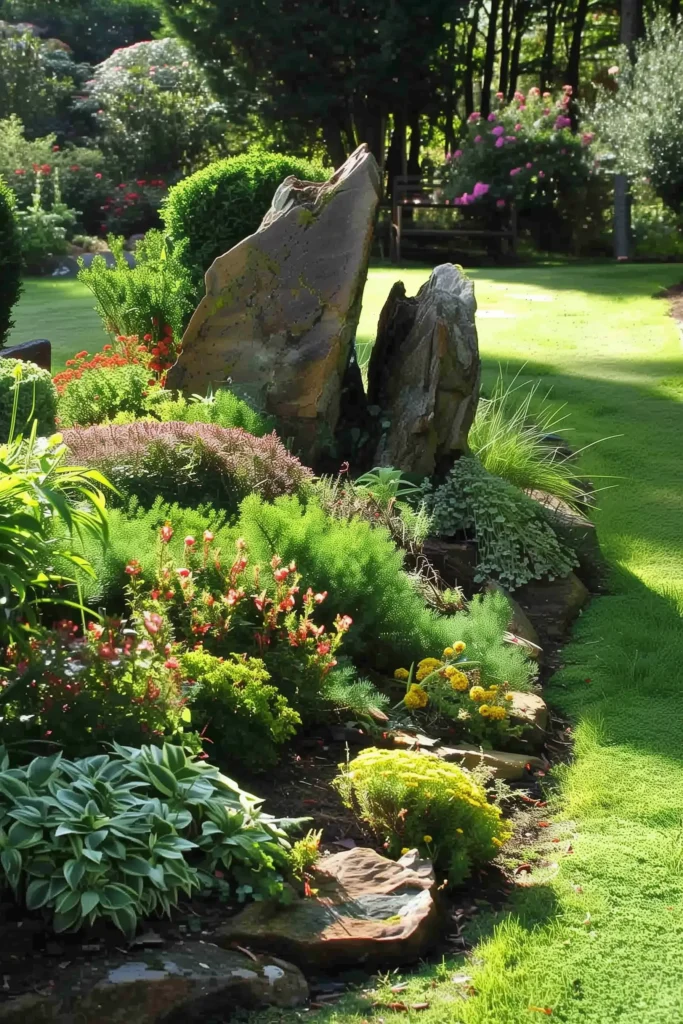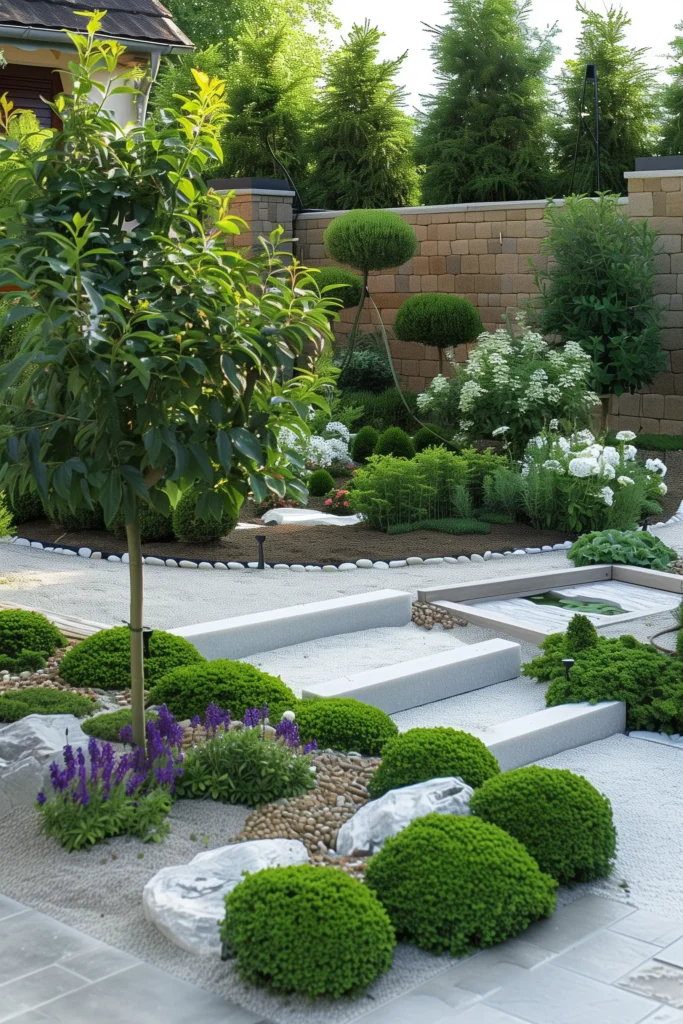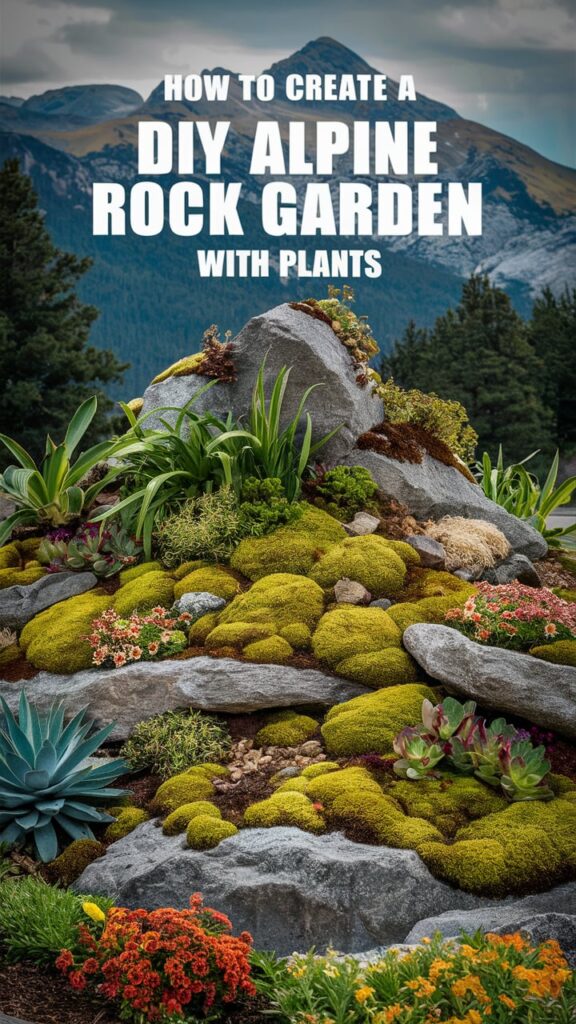
Creating an alpine rock garden is a fantastic way to bring a touch of mountain beauty to your backyard. This DIY project is perfect for gardening enthusiasts looking to showcase unique plants and create a serene outdoor space. Follow these steps to build your very own alpine rock garden.
Planning Your Alpine Rock Garden
Choosing the Location
Select a sunny, well-drained spot in your garden. Alpine plants thrive in areas that mimic their natural mountain environment. Look for a slope or create a raised bed to ensure proper drainage.
Designing the Layout
Sketch a rough design of your rock garden. Consider the placement of rocks, plants, and pathways. Aim for a natural, asymmetrical look, as if your garden was part of a mountain landscape.
Gathering Materials
Rocks
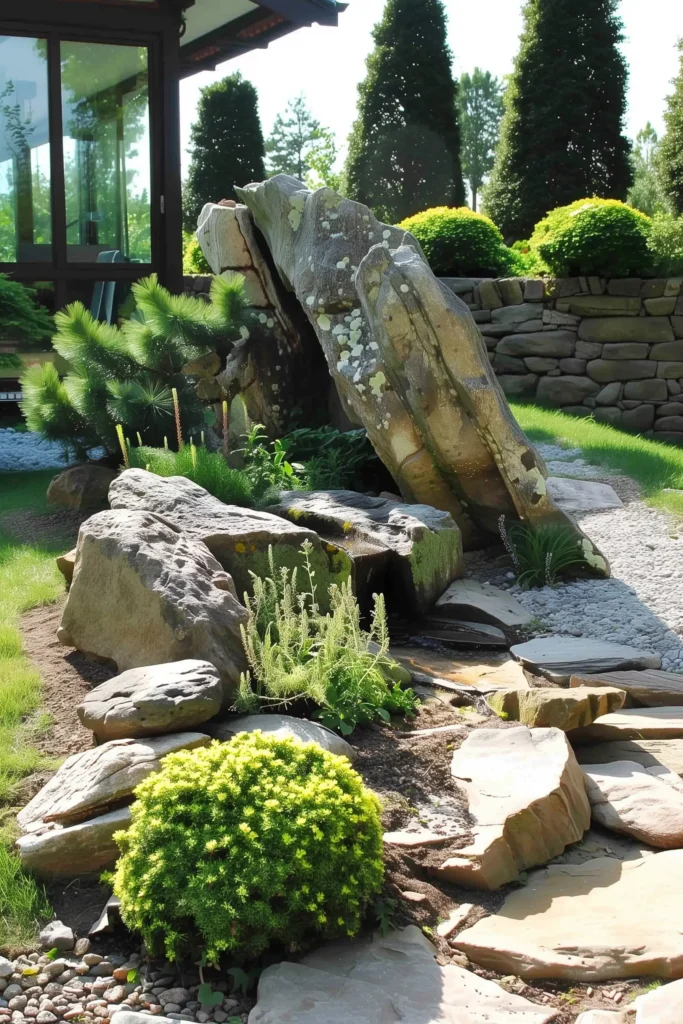
Choose a variety of rocks in different sizes and shapes. Large, flat rocks are ideal for creating the base, while smaller rocks can be used for accents and stability.
Soil
Mix equal parts of garden soil, coarse sand, and fine gravel. This combination ensures good drainage and mimics the rocky soil found in alpine regions.
Plants
Select alpine plants that thrive in rocky environments. Some popular choices include:
- Sedum: Low-growing with vibrant flowers.
- Saxifraga: Known for its rosette formations.
- Thyme: A fragrant ground cover.
- Edelweiss: A classic alpine plant with star-shaped flowers.
- Alpine Aster: Offers colorful blooms.
Building Your Alpine Rock Garden
Step 1: Choosing the Location
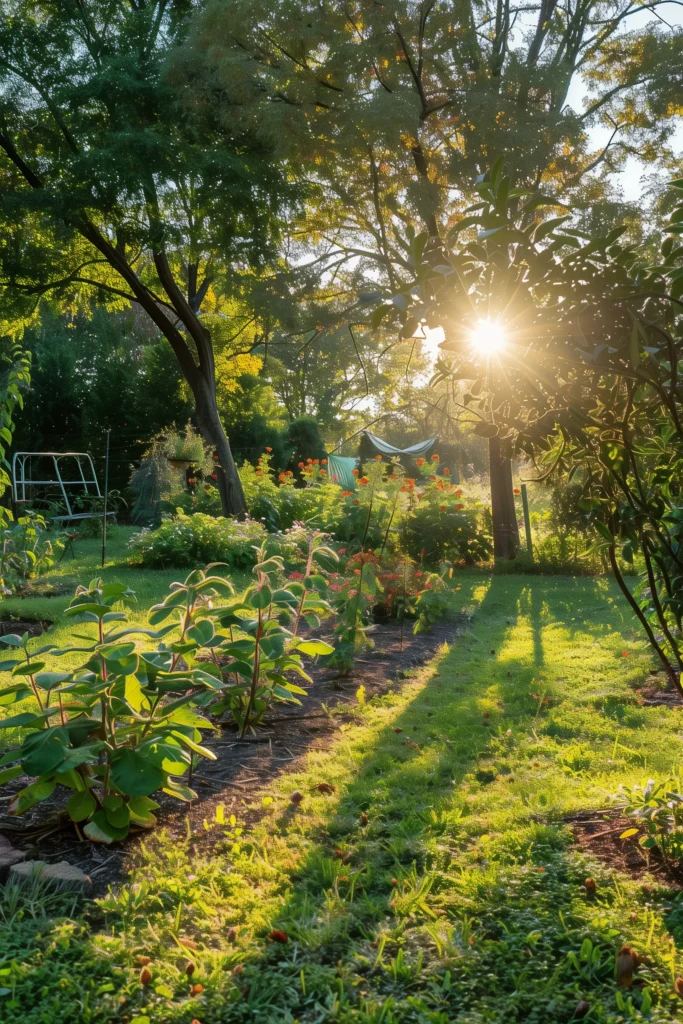
«A sunny, empty garden plot with a gentle slope and well-drained soil, ready for creating an alpine rock garden.»
Step 2: Designing the Layout

«A sketched layout of an alpine rock garden with asymmetrical rock placements, pathways, and plant areas.»
Step 3: Gathering Materials


A variety of rocks in different sizes, a wheelbarrow with soil mix, and a selection of alpine plants like sedum, thyme, and edelweiss.»
Step 4: Preparing the Base

«Laying large base rocks on a sunny, sloped garden plot, forming the foundation for an alpine rock garden.»
Step 5: Adding Layers

«Adding a layer of coarse sand over the base rocks to ensure proper drainage in the alpine rock garden.»
Step 6: Filling with Soil Mix

«Filling gaps and covering the sand layer with a soil mix of garden soil, coarse sand, and fine gravel.»
Step 7: Positioning Smaller Rocks
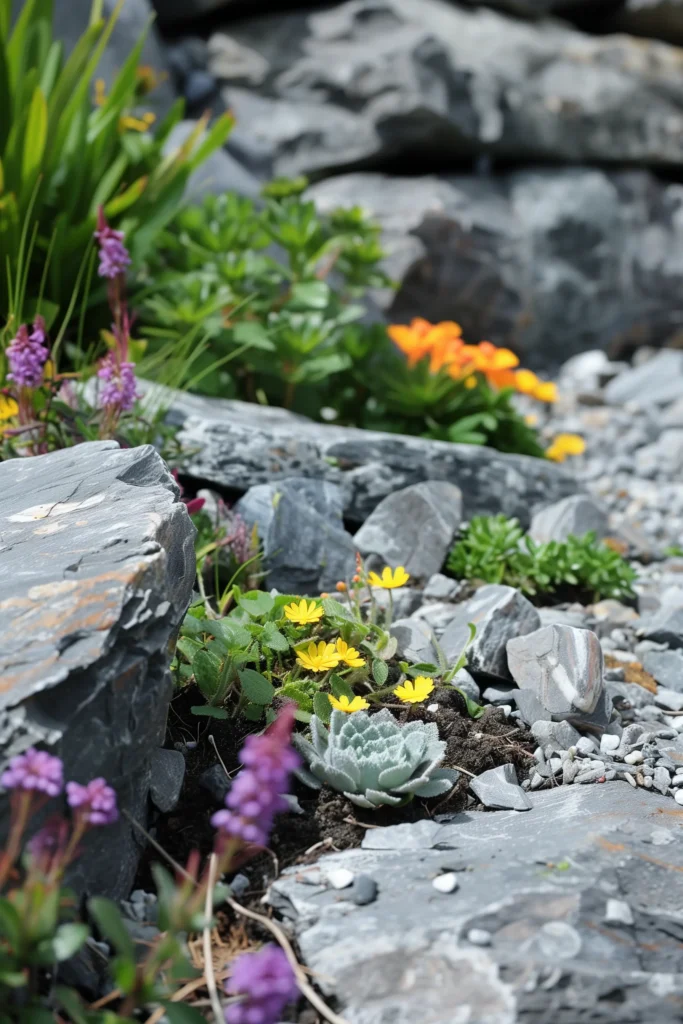
«Arranging smaller rocks around the larger ones, creating pockets and crevices for planting in the alpine rock garden.»
Step 8: Planting Your Alpine Plants

«Newly planted alpine garden with vibrant plants in rocky crevices, showing the careful placement of plants and initial watering.»
Step 9: Maintaining Your Alpine Rock Garden
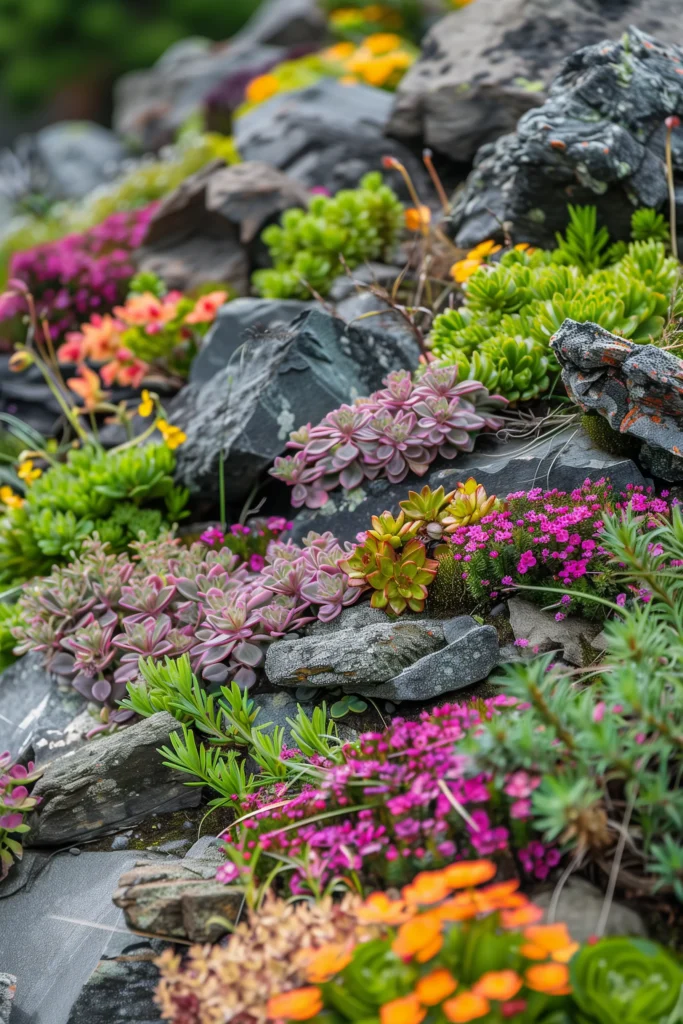

A well-maintained alpine rock garden with vibrant plants, showing careful weeding, pruning, and minimal watering for optimal growth.»
Maintaining Your Alpine Rock Garden
Watering
Alpine plants generally prefer dry conditions. Water your rock garden sparingly, ensuring the soil remains well-drained. Overwatering can lead to root rot.
Weeding
Regularly remove any weeds that appear in your rock garden. Weeds can compete with your alpine plants for nutrients and water.
Pruning
Trim back any overgrown or dead foliage to maintain the neat appearance of your rock garden. This also promotes healthy growth.
Conclusion
Creating an alpine rock garden is a rewarding project that adds unique beauty to your outdoor space. With careful planning, the right materials, and proper maintenance, you can enjoy a stunning rock garden that resembles a piece of the mountains. Happy gardening!


